Crystal Waterproofing Renovations

Technical library

The documents behind the specification.

Everything we install has a datasheet, and most of it carries a BBA certificate as well. It is all here, linked to the manufacturer so you always get the current revision — because a waterproofing design you cannot check is a waterproofing design you are taking on trust.

Manuals and references

How every junction is formed.

The drawings manual is the one worth having. It carries 56 basement waterproofing designs across every construction type, drawn to BS 8102 and BS 8485 — which is what a specifier actually needs when the question is how a corner, a penetration or a floor build-up is detailed rather than which product goes on the wall.

A note on the individual detail drawings. Wykamol was acquired by Mapei UK Ltd, and their downloads library currently states that all drawing details are under review and will be released shortly. The per-junction PDFs that used to sit alongside the manual have been withdrawn while that happens.

The manual above is unaffected and still covers them. If you need a specific detail — a stair string, a beam penetration, a wall-to-floor junction on an existing slab — tell us which one and we will send it across, along with how we would actually build it on your property rather than in the abstract.

Our drawings

The three types of protection, in section.

BS 8102 sets out three forms of protection and the whole job is choosing correctly between them. These are our own drawings of what each one actually looks like once it is in the ground.

EXTERNAL GROUND LEVEL WATER TABLE — SEASONAL P1 P2 TO DRAIN FINISHED ROOM — GRADE 3 habitable · dry · ventilated 1 2 3 4 5 6 7 8
  1. Retaining wall. Left wet on purpose. Nothing here is trying to stop water reaching the masonry — the wall behind the membrane stays as damp as it always was, and that is the intended behaviour, not a shortcoming.
  2. CM8 cavity drain membrane. Studs face the structure and form an 8mm drained void. Water that reaches the wall runs down this void instead of into the room, and the sheet is carried down into the channel so there is no break in the path.
  3. Plaster or board finish. The wall you actually see. Mesh-faced membrane takes plaster directly; battens and board are used where the finish demands it.
  4. Waterguard perimeter channel. Collects at the wall-to-floor junction — the most vulnerable line in the whole basement — and carries water round to the sump. Rodded through access points positioned to stay reachable after the room is finished.
  5. CM20 floor membrane. A 20mm drained void under the screed, feeding the same sump. Floors are the unforgiving part: once the screed is down, nothing here can be inspected again.
  6. Screed and floor finish. Laid over the membrane and structurally independent of it, so the floor build-up never bridges the void.
  7. Sump chamber with twin pumps. Two pumps so a single failure is not an event, a high-level alarm float, and battery backup for the power cut that tends to arrive with the same storm as the water.
  8. Pumped discharge. Sized against calculated inflow, with the bends counted — a pump loses roughly a metre of lift for every bend in the run, so the route is part of the pump selection.
Type C, drained protection. The structure stays wet and the water is collected and removed — the arrangement that suits most conversions of existing London cellars.
EXTERNAL GROUND LEVEL MODEST, KNOWN HEAD 30m TO THE RIG — 230V ONE CONTINUOUS PASS FINISHED ROOM 1 2 3 4 5 6
  1. Prepared substrate. Old finishes and any failed historic tanking taken off back to sound masonry. A barrier is only as good as what it is stuck to, and spraying a new coat over a failing one simply inherits the failure.
  2. Cementitious fillet. Formed in the internal corner so the barrier turns a radius rather than a right angle. A sharp internal corner is a thin spot in any coating, and thin spots are where the first pinhole appears.
  3. The barrier coat. HydraFlex, sprayed in one continuous pass at uniform thickness. There are no laps and no cold joints anywhere in the run — which is the entire reason to spray rather than brush on a vaulted or irregular substructure.
  4. Renovation plaster. Salt-resistant finish over the barrier. Ordinary gypsum on a wall that has carried damp for a century blows within a couple of winters.
  5. Screed over the barrier. The floor build-up sits on top of the coat, so the barrier is continuous under the whole room rather than stopping at the wall line.
  6. Sprayed from a peristaltic pump. The rig stays up at the top of the stairs — 30 metres of hose and a normal 230V socket — so no plant sits in the room being coated and nothing heavy is carried down into the cellar.
Type A, barrier protection, sprayed. A continuous coat with no laps and no cold joints, which is why we spray it on vaulted and irregular substructures rather than applying it by hand.
EXTERNAL GROUND LEVEL WATER TABLE SERVICE PENETRATION FINISHED ROOM — GRADE 3 the structure is the waterproofing 1 2 3 4 5 6
  1. Water-resistant concrete. The structure is the waterproofing. There is no membrane and no coating to install — the mix design, the cover and the crack-control reinforcement are the waterproofing system.
  2. Reinforcement for crack control. Concrete cracks; the design decides whether it cracks in many fine, self-healing lines or a few wide ones. That distinction is the whole difference between a dry basement and a wet one.
  3. Kicker and construction joint. The joint between slab and wall is the one place the pour stops, so it is the one place water can find a path. It is set out and detailed before anything is cast, never resolved on site on the day.
  4. Cast-in waterstop. Sealing the joint from within the concrete rather than over it afterwards. Anything applied to the face of a joint is a repair; this is a design.
  5. Service penetrations. Every pipe and duct through the structure is formed with a puddle flange cast in. Core-drilling a hole after the pour and sealing round it is how a Type B basement leaks.
  6. Internal finish. Applied directly to the concrete, because there is no drained void or barrier layer to accommodate. It is the least forgiving of the three types and the most durable when it is right.
Type B, structurally integral protection. There is no membrane and no coating — the concrete, its joints and its penetrations are the waterproofing system.
PERIMETER CHANNEL IN PUMP ON ALARM LEVEL DUTY STANDBY TO DRAIN BATTERY BACKUP 1 2 3 4 5 6 7 8
  1. Perforated chamber. Set into the floor and open to the ground around it, so groundwater arriving under the slab is collected here rather than finding the room. Sized so the pumps are not cycling constantly.
  2. Channel inlet. The perimeter channel discharges through a 100mm outlet. It sounds like a fitting and behaves like a bottleneck — undersize this and the whole perimeter backs up in exactly the storm the system was built for.
  3. Duty pump. Sized against a calculated inflow for the property, not against whatever was fitted last time. Its float sets the normal working level.
  4. Standby pump. A second pump so one failure is not an event. The cost difference against a single pump is small next to a flooded basement, and this is the change we most often recommend on somebody else's existing installation.
  5. Non-return valve. Stops the contents of the rising main running straight back into the chamber every time a pump stops. Without it the pumps re-lift the same water all night and wear out early.
  6. High-level alarm float. Set above the working level. You want to be told there is a problem while there is still time to act, rather than discovering it from the carpet.
  7. Battery backup. The power cut and the storm tend to be the same event. Backup keeps the duty pump running through it, and remote monitoring can raise the power loss itself as an alert, so a fault is reported rather than found.
  8. Discharge to drain. Routed and sized with the bends counted, and taken to somewhere that will still accept it in heavy rain — a discharge that backs up returns the water to where it started.
The sump chamber in detail. Every item in this drawing exists because of a specific failure mode, which is why we do not fit a single unbacked pump.

Product documents

Datasheets, certificates and declarations.

Grouped the way the systems are, so the documents sit next to the thing they describe rather than in one long alphabetical list.

Type C — cavity drain membranes

Studded HDPE to walls, floors and soffits. The membranes that make up a drained system.

Roll of Wykamol CM3 3mm studded cavity drain membrane

Walls — where depth is tight

Wykamol CM3 Cavity Drain Membrane

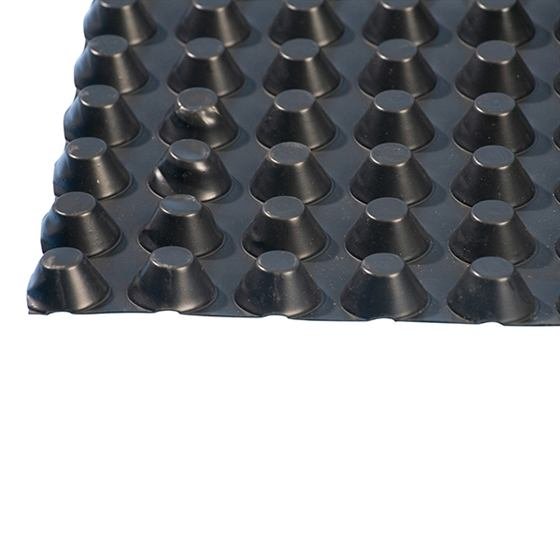
The 3mm studded membrane. We use it on walls where every millimetre of finished floor area matters and the water volume is genuinely low — a lightly damp cellar in a terrace, rather than a wall with running water. Where there is real inflow we go to the 8mm profile instead; choosing CM3 to save 5mm on a wall that needs CM8 is a false economy that shows up in the first wet winter.

  • 3mm studs
  • BBA certified
  • Walls and vaulted soffits
  • BS 8102 Type C
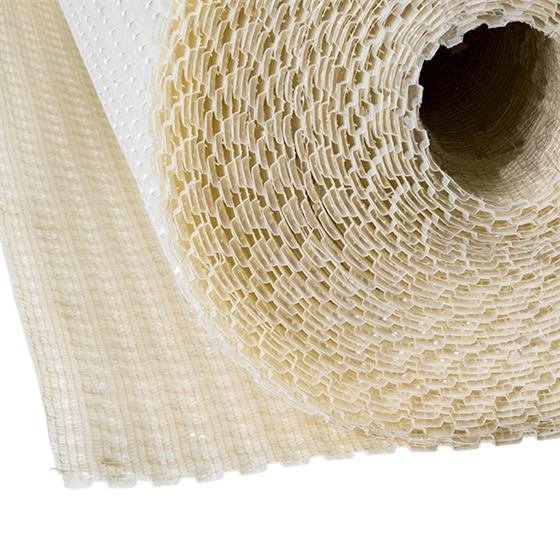
Wykamol CM3 mesh membrane with bonded polypropylene mesh face

Walls — direct plaster finish

Wykamol CM3 Cavity Drain Mesh Membrane

CM3 with a polypropylene mesh thermally bonded to the face, so plaster can go straight onto the membrane instead of onto battens or board. That saves the batten depth on every wall, which in a low Victorian cellar is the difference between a room you stand up in comfortably and one you do not. The mesh has to be fixed and lapped properly or the plaster finds the joint.

  • 3mm studs, bonded mesh
  • Direct plaster finish
  • BBA certified
  • Studs at 20mm centres
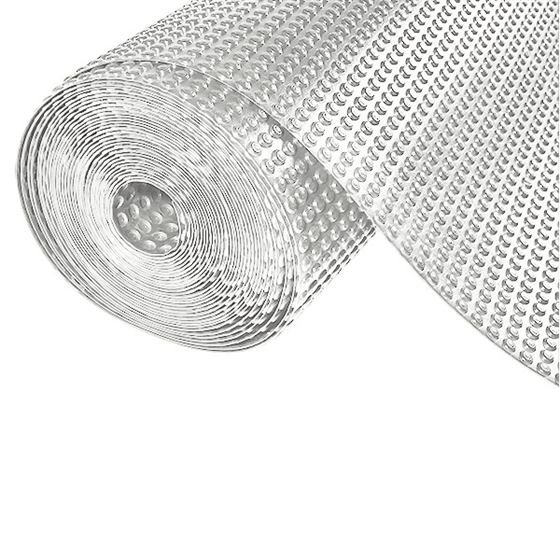
Roll of Wykamol CM8 8mm studded cavity drain membrane

Walls and soffits — the default

Wykamol CM8 Cavity Drain Membrane

The 8mm studded profile, and the one we specify most often on London basements. The deeper stud gives a drainage void that keeps working when a wall is actually wet rather than merely damp, and it ventilates the cavity behind the finish. On a converted cellar under a Victorian terrace this is usually the right answer for walls, with CM20 taken across the floor.

  • 8mm studs
  • BBA certified
  • Walls and soffits
  • Grade 3–4 environments
Roll of Wykamol CM8 mesh cavity drain membrane

Walls — 8mm void, plastered direct

Wykamol CM8 Cavity Drain Mesh Membrane

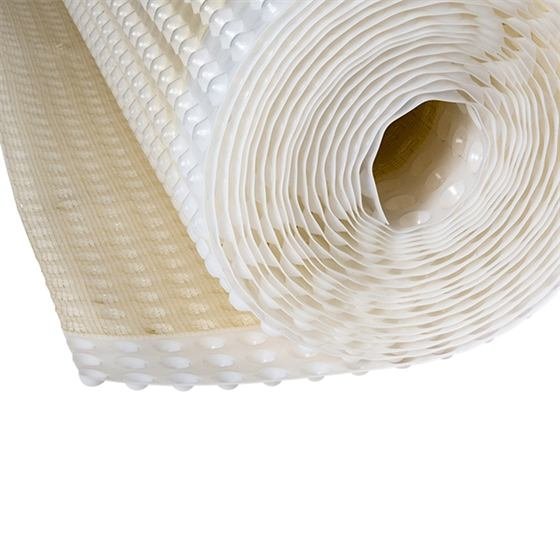
The combination we use most on habitable conversions: the 8mm drainage void of CM8 with the bonded mesh face that takes plaster or a dot-and-dab finish directly. It isolates a wet wall, keeps the void working, and still gives a plastered room rather than a boarded box. Salt inhibiting and root resistant, which matters against a garden retaining wall.

  • 8mm studs, bonded mesh
  • Direct plaster or dot-and-dab
  • BS 8102:2022 Type C
  • 2m × 10m / 2m × 20m rolls
Roll of Wykamol CM20 20mm studded cavity drain floor membrane

Floors — under the screed

Wykamol CM20 Cavity Drain Membrane

The 20mm profile, laid across the floor before the screed or a floating floor build-up. The deep stud carries water to the perimeter channel and takes the loading of the floor above it without collapsing the void. Floors are where a drained system is least forgiving, because nothing can be inspected once the screed is down — so this is one of the few places we will not substitute a shallower profile to save money.

  • 20mm studs
  • BBA certified
  • Floors, under screed
  • Load bearing void
Wykamol CM20 Hi-Vis yellow cavity drain floor membrane

Floors — inspectable before screed

Wykamol CM20 Hi-Vis Membrane

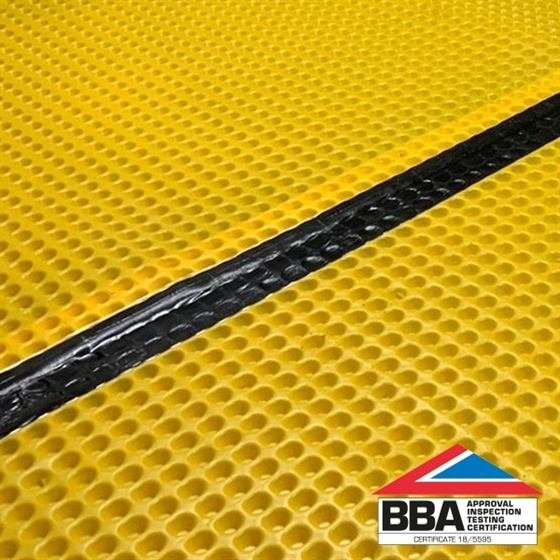
The same 20mm floor profile in high-visibility yellow. The point is not safety underfoot, though it helps: against a bright membrane a puncture, a dropped fixing or a cut from a following trade is obvious across the room. A floor membrane gets damaged after it is laid and before it is covered, and on a screed floor that damage is invisible for the life of the building unless somebody can see it that day.

  • 20mm studs, hi-vis yellow
  • Damage visible before covering
  • BBA certified
Wykamol geotextile faced cavity drain membrane

External face — protection and filtration

Wykamol CM8 & CM20 Geotextile Membrane

A geotextile-faced membrane for the external face of a retaining wall, where the studded sheet is backfilled against. The fabric stops fines migrating into the drainage void and silting it up over the following decade. A drained system that silts is a system that quietly stops draining, and it is not something anybody notices until the wall is wet again.

  • Geotextile bonded face
  • Filtration and protection
  • BBA certified
  • External / backfilled

Drainage

Channels and outlets — what collects the water once the membrane has directed it.

Wykamol Waterguard perimeter drainage channel

Perimeter channel, wall-to-floor junction

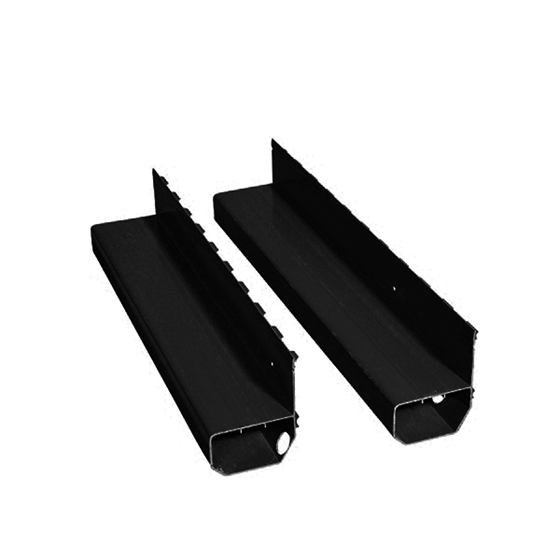
Wykamol Waterguard Channel

The PVC conduit that runs the perimeter at the wall-to-floor junction — the single most vulnerable line in any basement — and carries what the wall membrane collects round to the sump. Its flange up-stand ties into the wall membrane so water cannot pass behind the channel. It is rodded through access points we position to be genuinely reachable after the room is finished, not theoretically reachable.

  • PVC, 2m lengths
  • Flanged up-stand
  • Wall-to-floor junction
  • Rodded via access points
Wykamol Floor Drain flangeless drainage channel

Mid-floor runs

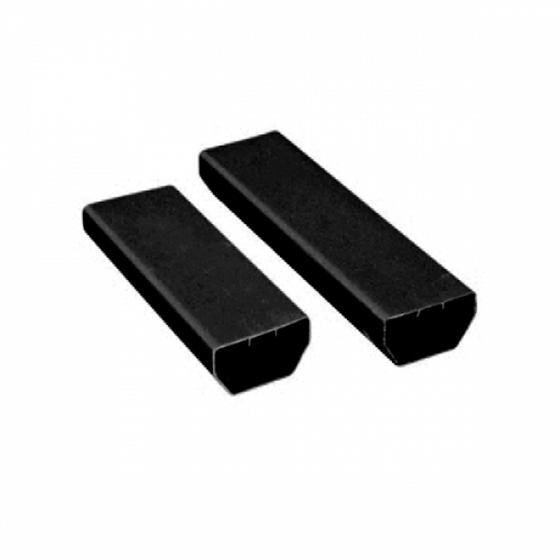
Wykamol Floor Drain Channel

The flangeless version, laid across the middle of a floor rather than at its edge. On a wide basement, or one where the floor falls away from the perimeter, water arriving in the centre has too far to travel to the wall. A mid-floor run shortens that path. Deciding whether a floor needs one is a survey question, not a catalogue question.

  • PVC, no up-stand
  • Mid-floor runs
  • Feeds to sump or drain
Wykamol Universal Channel Outlet connector

Channel into sump

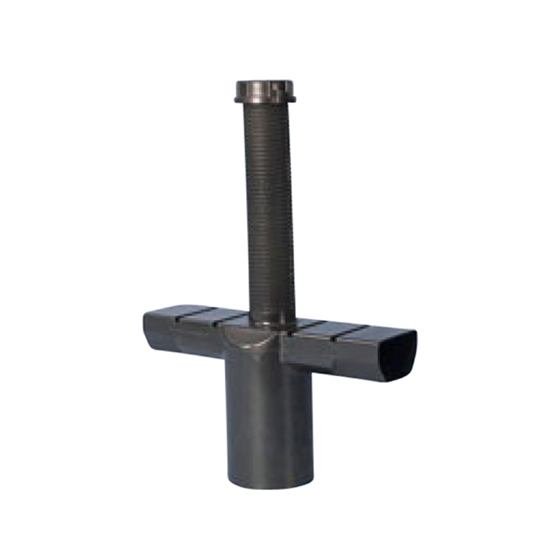
Wykamol Universal Channel Outlet

The 100mm outlet that takes the channel into the sump chamber. It sounds like a fitting and it behaves like a bottleneck: undersize this connection and the whole perimeter backs up during exactly the storm the system was designed for. The 100mm bore is there so the discharge into the chamber is never the limiting factor.

  • 100mm outlet
  • Channel to sump chamber
  • High flow

Pumps

The element that decides whether a drained system works on the night it matters.

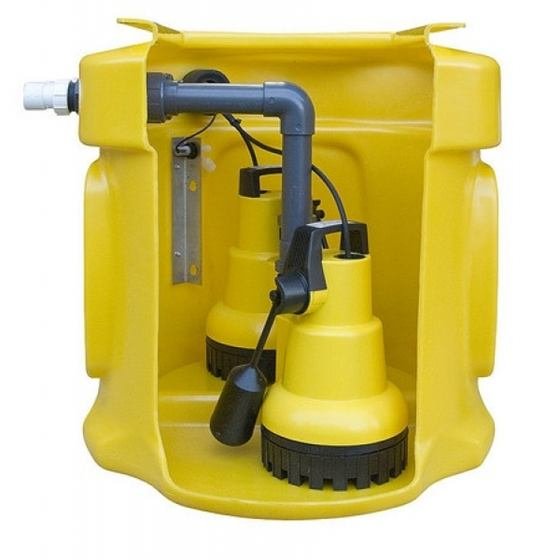
Wykamol SumpFlo twin pump sump chamber assembly

Pumped discharge

Wykamol SumpFlo 301 & 303 Pumps

The pumps we size against a calculated inflow rather than fitting whatever was there before. The 301 moves 168 litres a minute to 6.8m of head; the 303 moves 240 litres a minute to 12.5m. Head is the figure people forget — a pump loses roughly a metre of lift for every bend in the discharge run, so the pipework route is part of the pump selection, not an afterthought once it is installed.

  • 301 — 168 l/min, 6.8m head
  • 303 — 240 l/min, 12.5m head
  • Twin pump configurations
  • Battery backup and alarm

Type A — barrier protection

Applied barriers for sound structures with a modest, well-understood head of water.

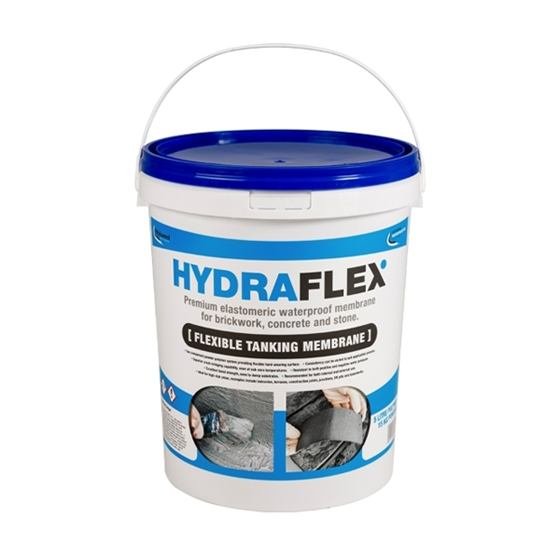
Wykamol HydraFlex two-part flexible tanking membrane in a 20kg tub

Flexible tanking membrane

Wykamol HydraFlex

A two-part cementitious tanking membrane — powder and a high-concentration polymer — that stays flexible once cured. That flexibility is the reason we specify it over a rigid slurry on older masonry: it bridges cracks in the substrate rather than telegraphing them, and it keeps doing so down to −5°C. It is thixotropic, which is what makes it behave properly through a spray line instead of running off a vaulted soffit.

  • Two-component, elastomeric
  • Crack-bridging to −5°C
  • Radon barrier tested
  • 20kg unit, up to 6m²
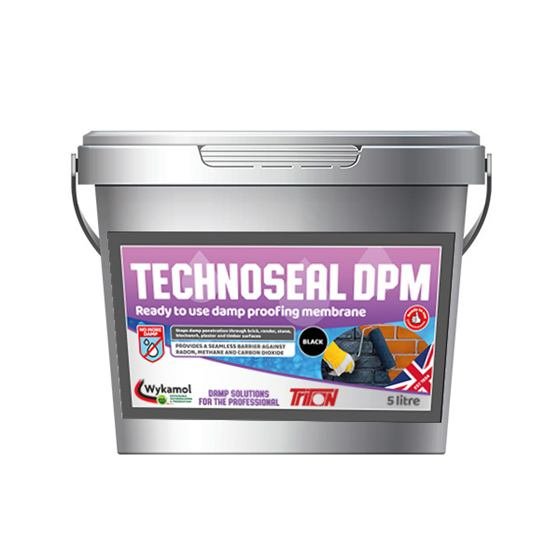
Wykamol Technoseal liquid damp proof membrane

Damp proof membrane

Wykamol Technoseal DPM

A liquid-applied damp proof membrane for floors and for the wall-to-floor junction, where a solid floor meets a wall that has no continuous DPC. It is the material we reach for when the problem is a specific interface rather than a whole tanked box, and it links a new floor DPM back into the wall system so the two are actually continuous rather than merely adjacent.

  • Liquid applied
  • Floor and junction detailing
  • Black and white grades
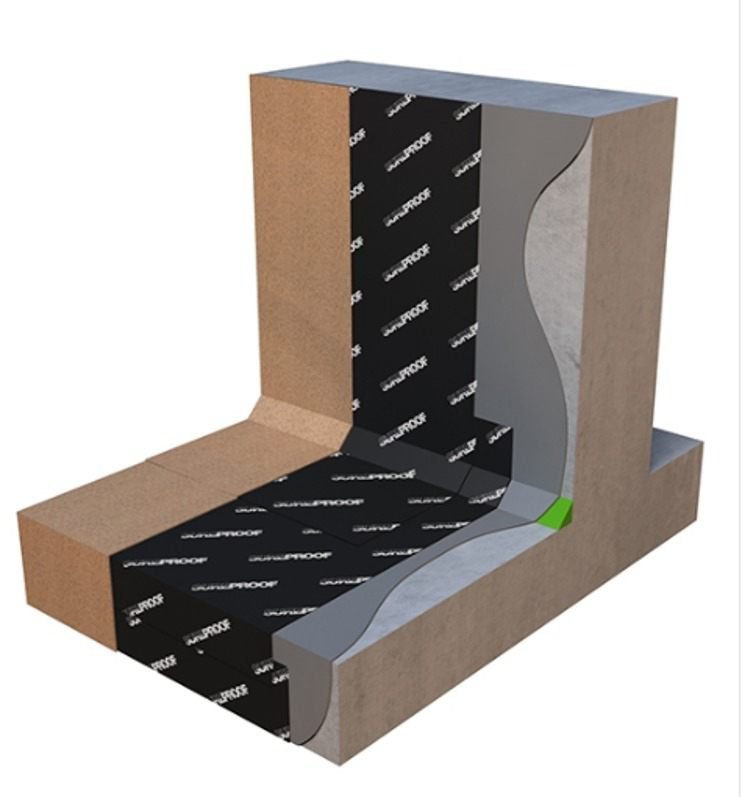
Wykamol SureProof self-adhesive membrane applied to the outside face of a basement wall and turned onto the slab

External barrier — new build

Wykamol SureProof Membrane

A sheet, not a spray, and the exception that proves the rule. Every other barrier we fit goes on the inside of a structure that already exists; this one goes on the outside of a new one, in the open excavation, before anything is backfilled. That is the positive side of the wall — water pressure holds the membrane on rather than trying to peel it off — and an open dig is the only chance a building ever gives you to work there. We specify it on new basement boxes and underpinned extensions where there is a dig to work in. It is no use whatever on a Victorian cellar with a neighbour on the far side of the wall, which is most of what we do, and that is exactly why it sits here alongside the sprayed systems rather than instead of them. The primer is not optional and the laps are the job.

  • Self-adhesive, cold applied
  • Cross-laminated HDPE on polymer modified bitumen
  • External, below ground, new build
  • BS 8102 Grades 2 and 3
  • 1.05 × 19.05m roll, 20m²

Type B — detailing

The mortars and sealing materials used where the structure itself is the waterproofing.

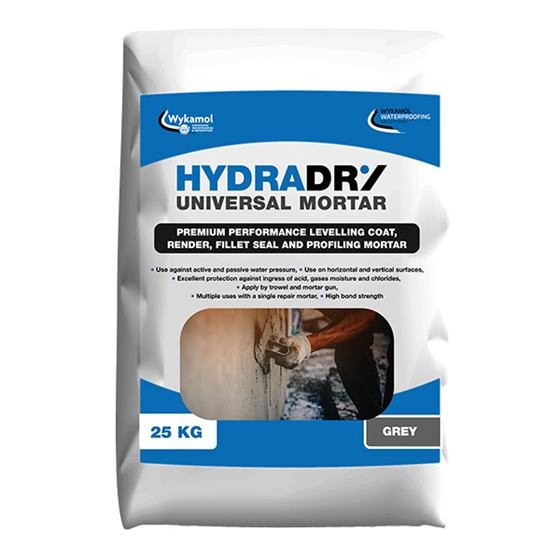
Wykamol HydraDry Universal Mortar bag

Fillets, making good, penetrations

Wykamol HydraDry Universal Mortar

A waterproof mortar for the work either side of the membrane: forming the fillet at the wall-to-floor junction, making good around service penetrations, and packing out a substrate that is too irregular to take a barrier coat. Unglamorous, and it is where a Type A system is usually won or lost — a barrier is only as continuous as the corner it turns.

  • Waterproof cementitious mortar
  • Fillets and penetrations
  • Substrate preparation

Finishes and protection

What goes over the system, and what keeps the drained elements working.

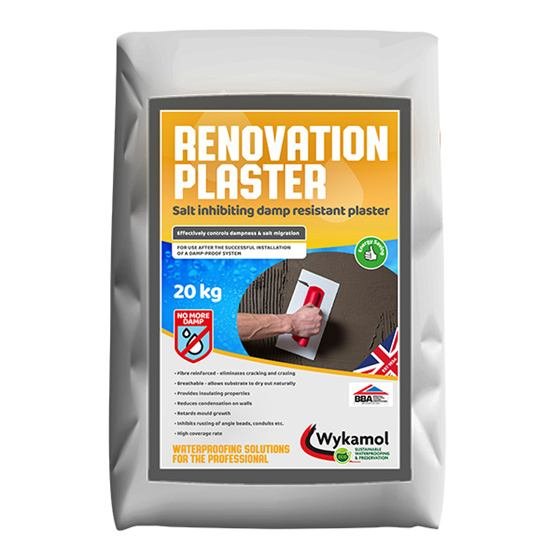
Wykamol Renovation Plaster bag

Finish coat over treated walls

Wykamol Renovation Plaster

A salt-resistant renovation plaster for walls that have carried damp for decades. Ordinary gypsum plaster over a hygroscopic wall pulls salts to the surface and blows within a couple of winters, which is why so many "damp problems" reappear after a decorator has been in. This is the finish that stops that happening once the waterproofing behind it is right.

  • Salt resistant
  • BBA certified (2025)
  • Over treated masonry
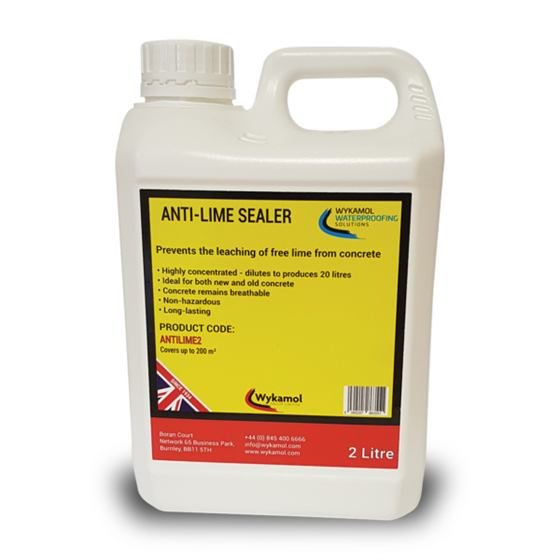
Wykamol Anti-Lime Sealer concentrate container

Protecting the drainage void

Wykamol Anti-Lime Sealer

Applied to the substrate before the membrane goes on, to stop free lime leaching out of fresh concrete and hardening inside the drainage channels. It is a maintenance problem bought off in advance: lime scaling narrows a channel slowly over years, and by the time it shows as a wet floor the system needs opening up rather than rodding.

  • Concentrate
  • Applied before membrane
  • Prevents lime scaling in channels

Ask us

Need a detail we haven't published?

Tell us the junction, the structure and what the space is going to be used for, and we will send the relevant detail along with a straight answer on whether it is the right one for your property.

Office 4D Heathhurst Road, South Croydon, CR2 0BA

We'll only use your details to answer this enquiry. No mailing list, no passing them on.

WhatsApp us