Crystal Waterproofing Renovations

Type C · Drained protection

Cavity drain membrane installation

A cavity drain membrane is the core of a Type C system, and it is the waterproof membrane most London basements actually need. Studded HDPE sheet is fixed to the walls, floors and soffits, creating a drained void between the structure and the finished room. Water that reaches the structure runs down the void into a perimeter channel and away to a sump. The building stays wet; the room stays dry.

PCA Property Care Association Member firm
CSSW Certified Surveyor in Structural Waterproofing Design to BS 8102
IBG Insurance-Backed Guarantees Available on completed works

The system in section

What is actually behind the wall.

Wykamol drawing detail Wp012: a section through a brick basement showing CM8 cavity drain membrane fixed to the wall, CM20 membrane over the floor slab, a Waterguard drainage channel at the wall-to-floor junction, Technoseal at the junction, and a screed over the floor membrane, with an inset showing a flexi jetting eye for rodding the channel
A Type C drained system in section, and the exact build-up we install on a brick basement: CM8 to the walls, CM20 over the slab, a Waterguard channel at the junction and Technoseal where the two meet. The structure stays wet; the room stays dry. Drawing detail Wp012, reproduced from Wykamol's technical library.

Why it suits older structures

A barrier system has to bond to the substrate and stay bonded. On a Victorian basement that has been repointed, patched and previously tanked by somebody else, that is a demanding assumption. A cavity drain membrane makes no such demand — it is mechanically fixed and sealed, and it tolerates a structure that is imperfect, damp and slightly moving, because it was never trying to stop the water in the first place.

It is also the only common system that remains accessible after completion. The channels can be rodded and the pump serviced without taking the room apart.

The junctions are the job

Membrane across an open wall is straightforward. The quality of an installation lives in the places that are not open wall: internal and external corners, the wall-to-floor junction, service penetrations, stair strings, and anywhere a beam or pipe interrupts the run. Every one of those is a potential path around the system.

We seal and detail each one as a designed element rather than working around it on the day, and we check the system before anything covers it — because once the room is boarded and plastered, a missed penetration is expensive to find.

What gets installed

Studded HDPE membrane to walls, floors and soffits as the design requires; a perimeter drainage channel at the wall-floor junction; a sump chamber with twin pumps, battery backup and a high-level alarm; and access points positioned so the channels can actually be maintained rather than theoretically maintained.

On site · our own photographs

What it looks like before the room covers it up.

Systems and materials

What we install, and why that one.

We specify Wykamol systems for this work. Every product below carries its own datasheet and, where it exists, a BBA certificate — read them rather than taking our word for it.

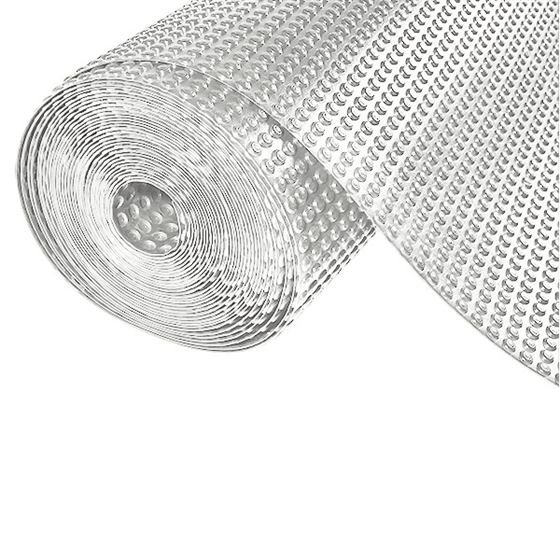
Roll of Wykamol CM3 3mm studded cavity drain membrane

Walls — where depth is tight

Wykamol CM3 Cavity Drain Membrane

The 3mm studded membrane. We use it on walls where every millimetre of finished floor area matters and the water volume is genuinely low — a lightly damp cellar in a terrace, rather than a wall with running water. Where there is real inflow we go to the 8mm profile instead; choosing CM3 to save 5mm on a wall that needs CM8 is a false economy that shows up in the first wet winter.

  • 3mm studs
  • BBA certified
  • Walls and vaulted soffits
  • BS 8102 Type C
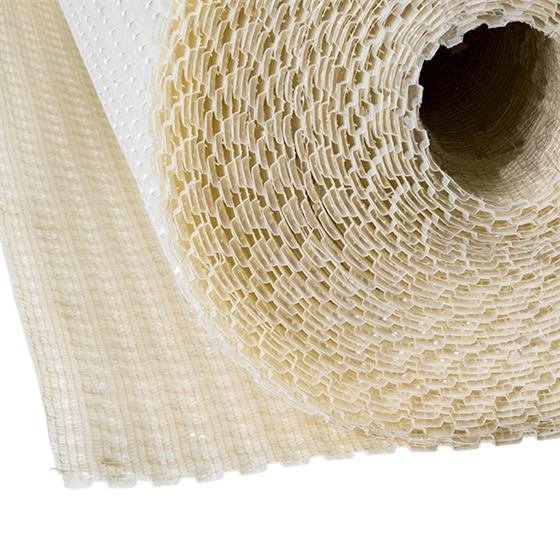
Wykamol CM3 mesh membrane with bonded polypropylene mesh face

Walls — direct plaster finish

Wykamol CM3 Cavity Drain Mesh Membrane

CM3 with a polypropylene mesh thermally bonded to the face, so plaster can go straight onto the membrane instead of onto battens or board. That saves the batten depth on every wall, which in a low Victorian cellar is the difference between a room you stand up in comfortably and one you do not. The mesh has to be fixed and lapped properly or the plaster finds the joint.

  • 3mm studs, bonded mesh
  • Direct plaster finish
  • BBA certified
  • Studs at 20mm centres
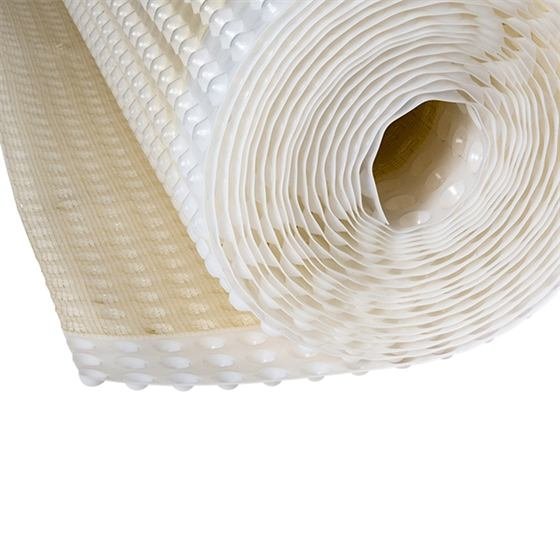
Roll of Wykamol CM8 8mm studded cavity drain membrane

Walls and soffits — the default

Wykamol CM8 Cavity Drain Membrane

The 8mm studded profile, and the one we specify most often on London basements. The deeper stud gives a drainage void that keeps working when a wall is actually wet rather than merely damp, and it ventilates the cavity behind the finish. On a converted cellar under a Victorian terrace this is usually the right answer for walls, with CM20 taken across the floor.

  • 8mm studs
  • BBA certified
  • Walls and soffits
  • Grade 3–4 environments
Roll of Wykamol CM8 mesh cavity drain membrane

Walls — 8mm void, plastered direct

Wykamol CM8 Cavity Drain Mesh Membrane

The combination we use most on habitable conversions: the 8mm drainage void of CM8 with the bonded mesh face that takes plaster or a dot-and-dab finish directly. It isolates a wet wall, keeps the void working, and still gives a plastered room rather than a boarded box. Salt inhibiting and root resistant, which matters against a garden retaining wall.

  • 8mm studs, bonded mesh
  • Direct plaster or dot-and-dab
  • BS 8102:2022 Type C
  • 2m × 10m / 2m × 20m rolls
Roll of Wykamol CM20 20mm studded cavity drain floor membrane

Floors — under the screed

Wykamol CM20 Cavity Drain Membrane

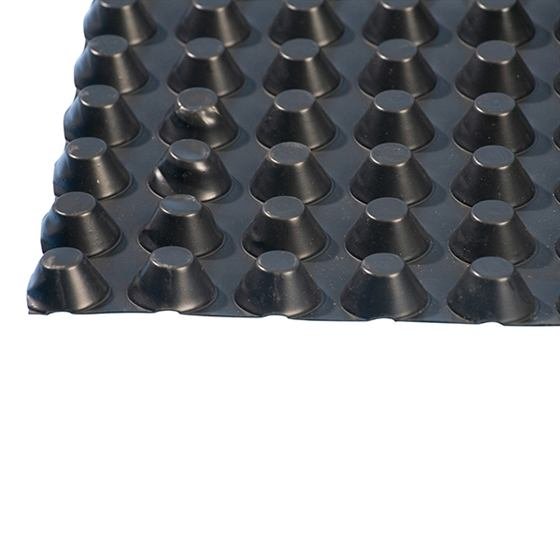
The 20mm profile, laid across the floor before the screed or a floating floor build-up. The deep stud carries water to the perimeter channel and takes the loading of the floor above it without collapsing the void. Floors are where a drained system is least forgiving, because nothing can be inspected once the screed is down — so this is one of the few places we will not substitute a shallower profile to save money.

  • 20mm studs
  • BBA certified
  • Floors, under screed
  • Load bearing void
Wykamol CM20 Hi-Vis yellow cavity drain floor membrane

Floors — inspectable before screed

Wykamol CM20 Hi-Vis Membrane

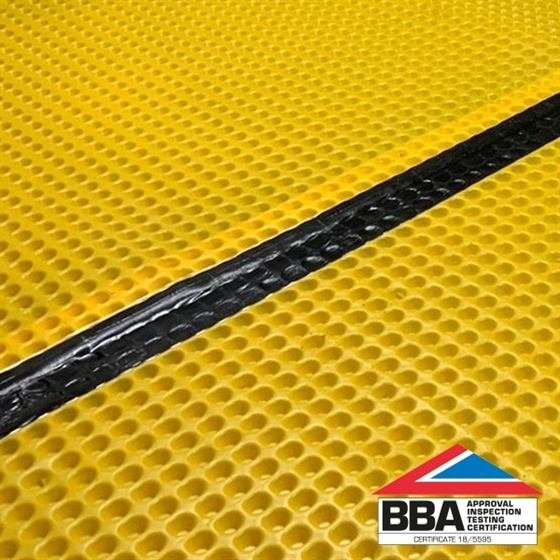
The same 20mm floor profile in high-visibility yellow. The point is not safety underfoot, though it helps: against a bright membrane a puncture, a dropped fixing or a cut from a following trade is obvious across the room. A floor membrane gets damaged after it is laid and before it is covered, and on a screed floor that damage is invisible for the life of the building unless somebody can see it that day.

  • 20mm studs, hi-vis yellow
  • Damage visible before covering
  • BBA certified
Wykamol geotextile faced cavity drain membrane

External face — protection and filtration

Wykamol CM8 & CM20 Geotextile Membrane

A geotextile-faced membrane for the external face of a retaining wall, where the studded sheet is backfilled against. The fabric stops fines migrating into the drainage void and silting it up over the following decade. A drained system that silts is a system that quietly stops draining, and it is not something anybody notices until the wall is wet again.

  • Geotextile bonded face
  • Filtration and protection
  • BBA certified
  • External / backfilled
Wykamol Waterguard perimeter drainage channel

Perimeter channel, wall-to-floor junction

Wykamol Waterguard Channel

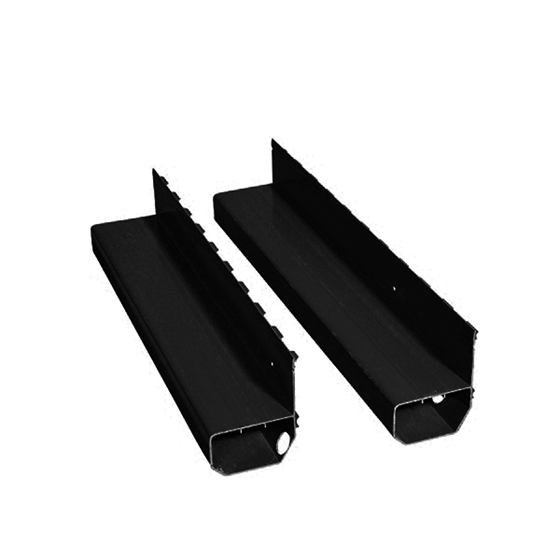
The PVC conduit that runs the perimeter at the wall-to-floor junction — the single most vulnerable line in any basement — and carries what the wall membrane collects round to the sump. Its flange up-stand ties into the wall membrane so water cannot pass behind the channel. It is rodded through access points we position to be genuinely reachable after the room is finished, not theoretically reachable.

  • PVC, 2m lengths
  • Flanged up-stand
  • Wall-to-floor junction
  • Rodded via access points
Wykamol Floor Drain flangeless drainage channel

Mid-floor runs

Wykamol Floor Drain Channel

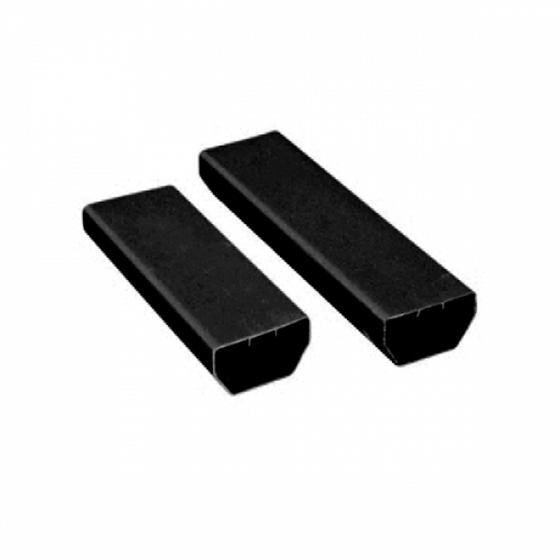
The flangeless version, laid across the middle of a floor rather than at its edge. On a wide basement, or one where the floor falls away from the perimeter, water arriving in the centre has too far to travel to the wall. A mid-floor run shortens that path. Deciding whether a floor needs one is a survey question, not a catalogue question.

  • PVC, no up-stand
  • Mid-floor runs
  • Feeds to sump or drain
Wykamol Universal Channel Outlet connector

Channel into sump

Wykamol Universal Channel Outlet

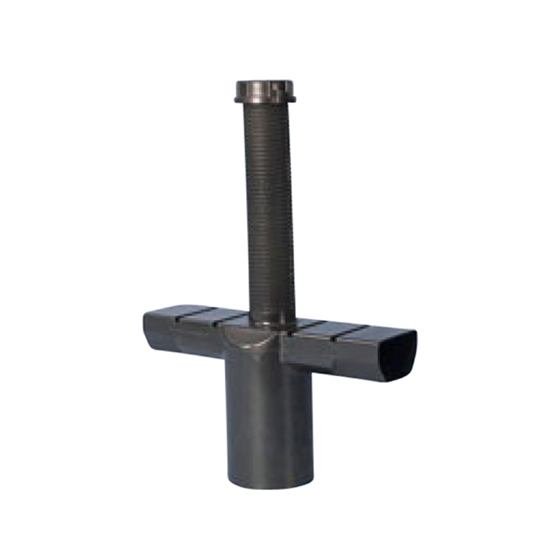
The 100mm outlet that takes the channel into the sump chamber. It sounds like a fitting and it behaves like a bottleneck: undersize this connection and the whole perimeter backs up during exactly the storm the system was designed for. The 100mm bore is there so the discharge into the chamber is never the limiting factor.

  • 100mm outlet
  • Channel to sump chamber
  • High flow
Wykamol SumpFlo twin pump sump chamber assembly

Pumped discharge

Wykamol SumpFlo 301 & 303 Pumps

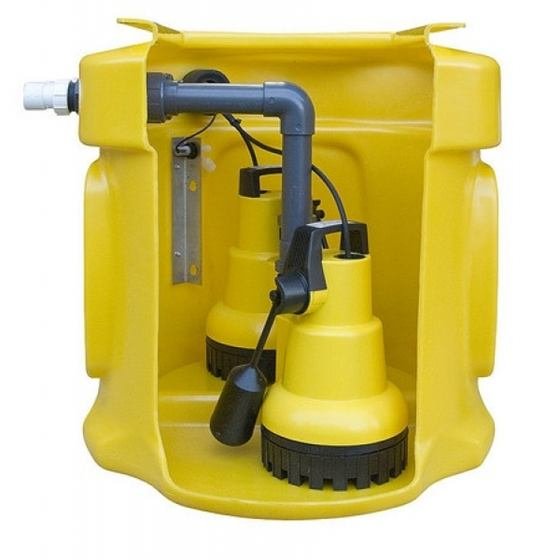
The pumps we size against a calculated inflow rather than fitting whatever was there before. The 301 moves 168 litres a minute to 6.8m of head; the 303 moves 240 litres a minute to 12.5m. Head is the figure people forget — a pump loses roughly a metre of lift for every bend in the discharge run, so the pipework route is part of the pump selection, not an afterthought once it is installed.

  • 301 — 168 l/min, 6.8m head
  • 303 — 240 l/min, 12.5m head
  • Twin pump configurations
  • Battery backup and alarm
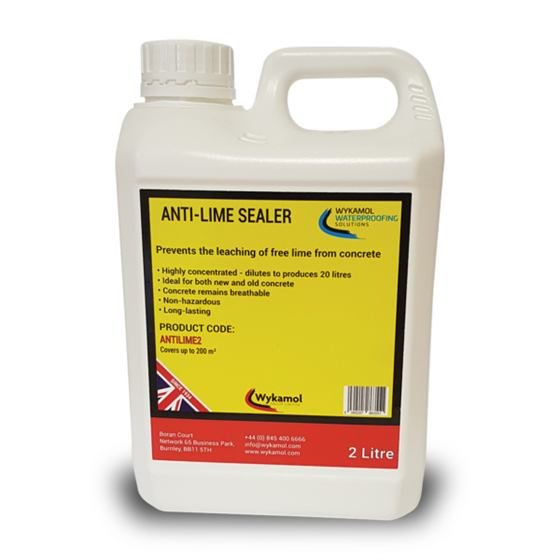
Wykamol Anti-Lime Sealer concentrate container

Protecting the drainage void

Wykamol Anti-Lime Sealer

Applied to the substrate before the membrane goes on, to stop free lime leaching out of fresh concrete and hardening inside the drainage channels. It is a maintenance problem bought off in advance: lime scaling narrows a channel slowly over years, and by the time it shows as a wet floor the system needs opening up rather than rodding.

  • Concentrate
  • Applied before membrane
  • Prevents lime scaling in channels

Technical downloads

The paperwork behind the specification.

The full technical library, including the drawings manual →

Common questions

What people ask us about cavity drain membrane.

Which waterproof membrane does a basement need?

There is no single answer, which is why the membranes come in a range of stud depths. An 8mm studded profile is our default on London basements: the deeper drainage void keeps working when a wall is genuinely wet rather than merely damp. A 3mm profile is for walls where every millimetre of finished floor area matters and the water volume is genuinely low. Floors take a heavier grade under the screed. A mesh-faced version lets plaster go straight onto the membrane instead of onto battens, which in a low Victorian cellar is the difference between a room you stand up in comfortably and one you do not. Choosing the thin one to save five millimetres on a wall that needed the thick one is a false economy, and it shows up in the first wet winter.

Does a cavity drain membrane stop damp?

It stops damp reaching the finished room, which is what matters to you, but it does not dry the structure out — the wall behind the membrane stays as wet as it always was. That is the intended behaviour of a Type C system, not a shortcoming. If the goal is a dry, habitable room, it achieves it; if you were expecting the masonry itself to dry, no waterproofing system does that while water is still arriving.

Do you lose much room size?

Some, but less than people expect. The membrane itself is a few millimetres, and the loss comes from the batten or board finish over it — typically around 30 to 50mm per wall depending on the finish. Against that, a Type A system needs a sound render coat, so the difference between the two in finished floor area is smaller than it first appears.

What happens if the pump fails?

On a properly designed system, nothing immediately. That is why we fit twin pumps rather than one, battery backup so a power cut is not a flood, and a high-level alarm that tells you something is wrong while there is still time to act. A single pump with no alarm is the arrangement that fails badly, and it is unfortunately common.

Request a quote

Talk to us about cavity drain membrane.

Tell us what you're seeing and we'll tell you honestly whether it needs a full system or something much simpler.

Office 4D Heathhurst Road, South Croydon, CR2 0BA

We'll only use your details to answer this enquiry. No mailing list, no passing them on.

WhatsApp us